Learning the basics
Learn about the integration builder - an app that builds other apps.
Use the Dev Dashboard to build apps that are public or private. Private apps can then be updated to a public app at any time.
Overview
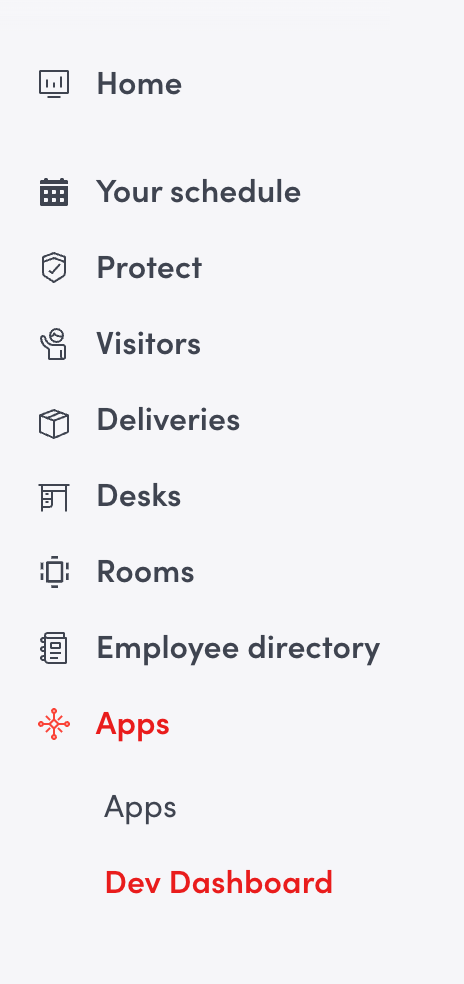
After successfully enrolling in Envoy's developer program, you automatically be granted access to the "Dev Dashboard". Once it is available in the Envoy dashboard, select Dev Dashboard and then "Create New" in the upper right-hand corner and start building your app.
The builder is broken up into four sections:
- Details
- Events
- Setup Steps
- API Credentials
Details
This contains the basic details about your integration. If you make your app public listed this information will appear in your app listing on the Integration Directory.
TIPYou'll want to complete the builder with the "live" checkbox unchecked until you receive your API credentials after saving. Once you've put in your API credentials into your app environment, you can then go live.
Events
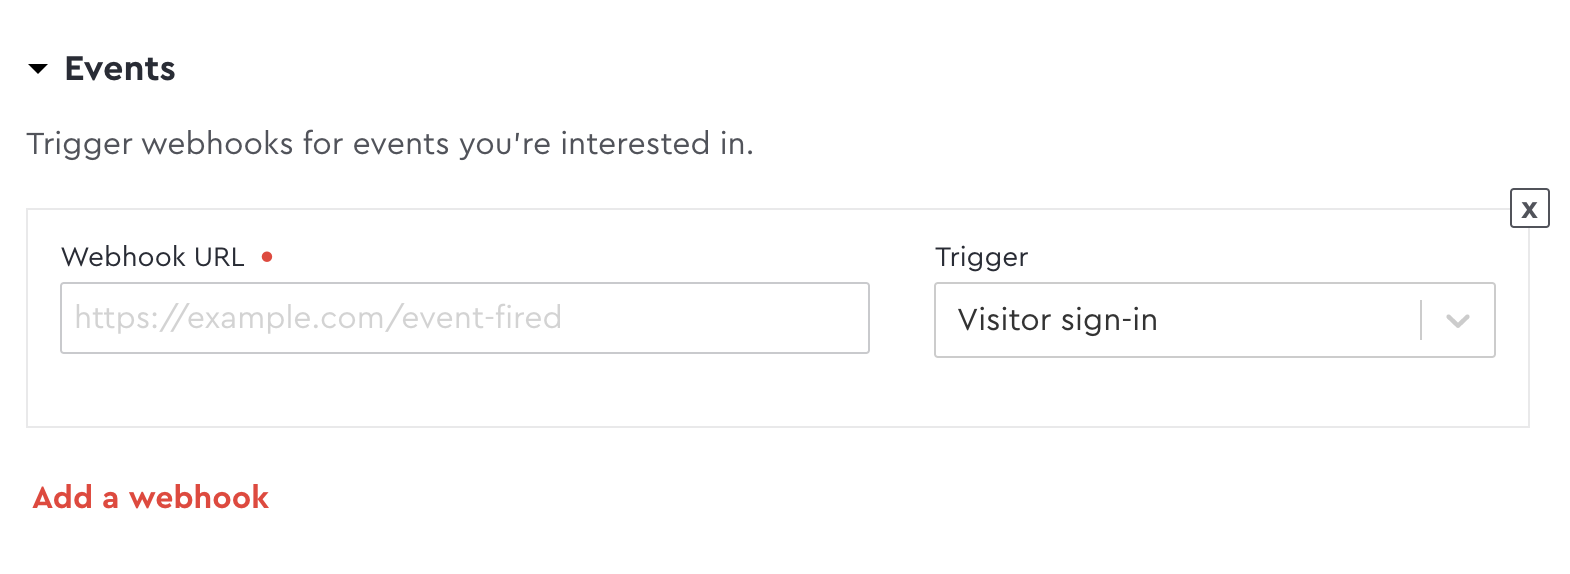
These are the events you want your plugin to listen for and react to. Subscribing to an event is as simple as putting in your plugin worker's endpoint URL. When the relevant event happens, we'll send a POST request to that URL. You can learn more about what to expect in those requests here.
Setup Steps
Each step you create represents a screen you wish the plugin installer to be presented with. These steps are how you gather the necessary information from the installer in order for your plugin to function properly.
For example, the installer may be asked to supply their preferred configuration, or they may be asked to authenticate with some external service that your plugin talks to.
Steps can be any of the following
- OAuth2 - a dialog to authenticate with
- Pop-up - a modal window with custom content
- Form - something the user fills out
Each step type has different configuration settings
OAuth2 Step
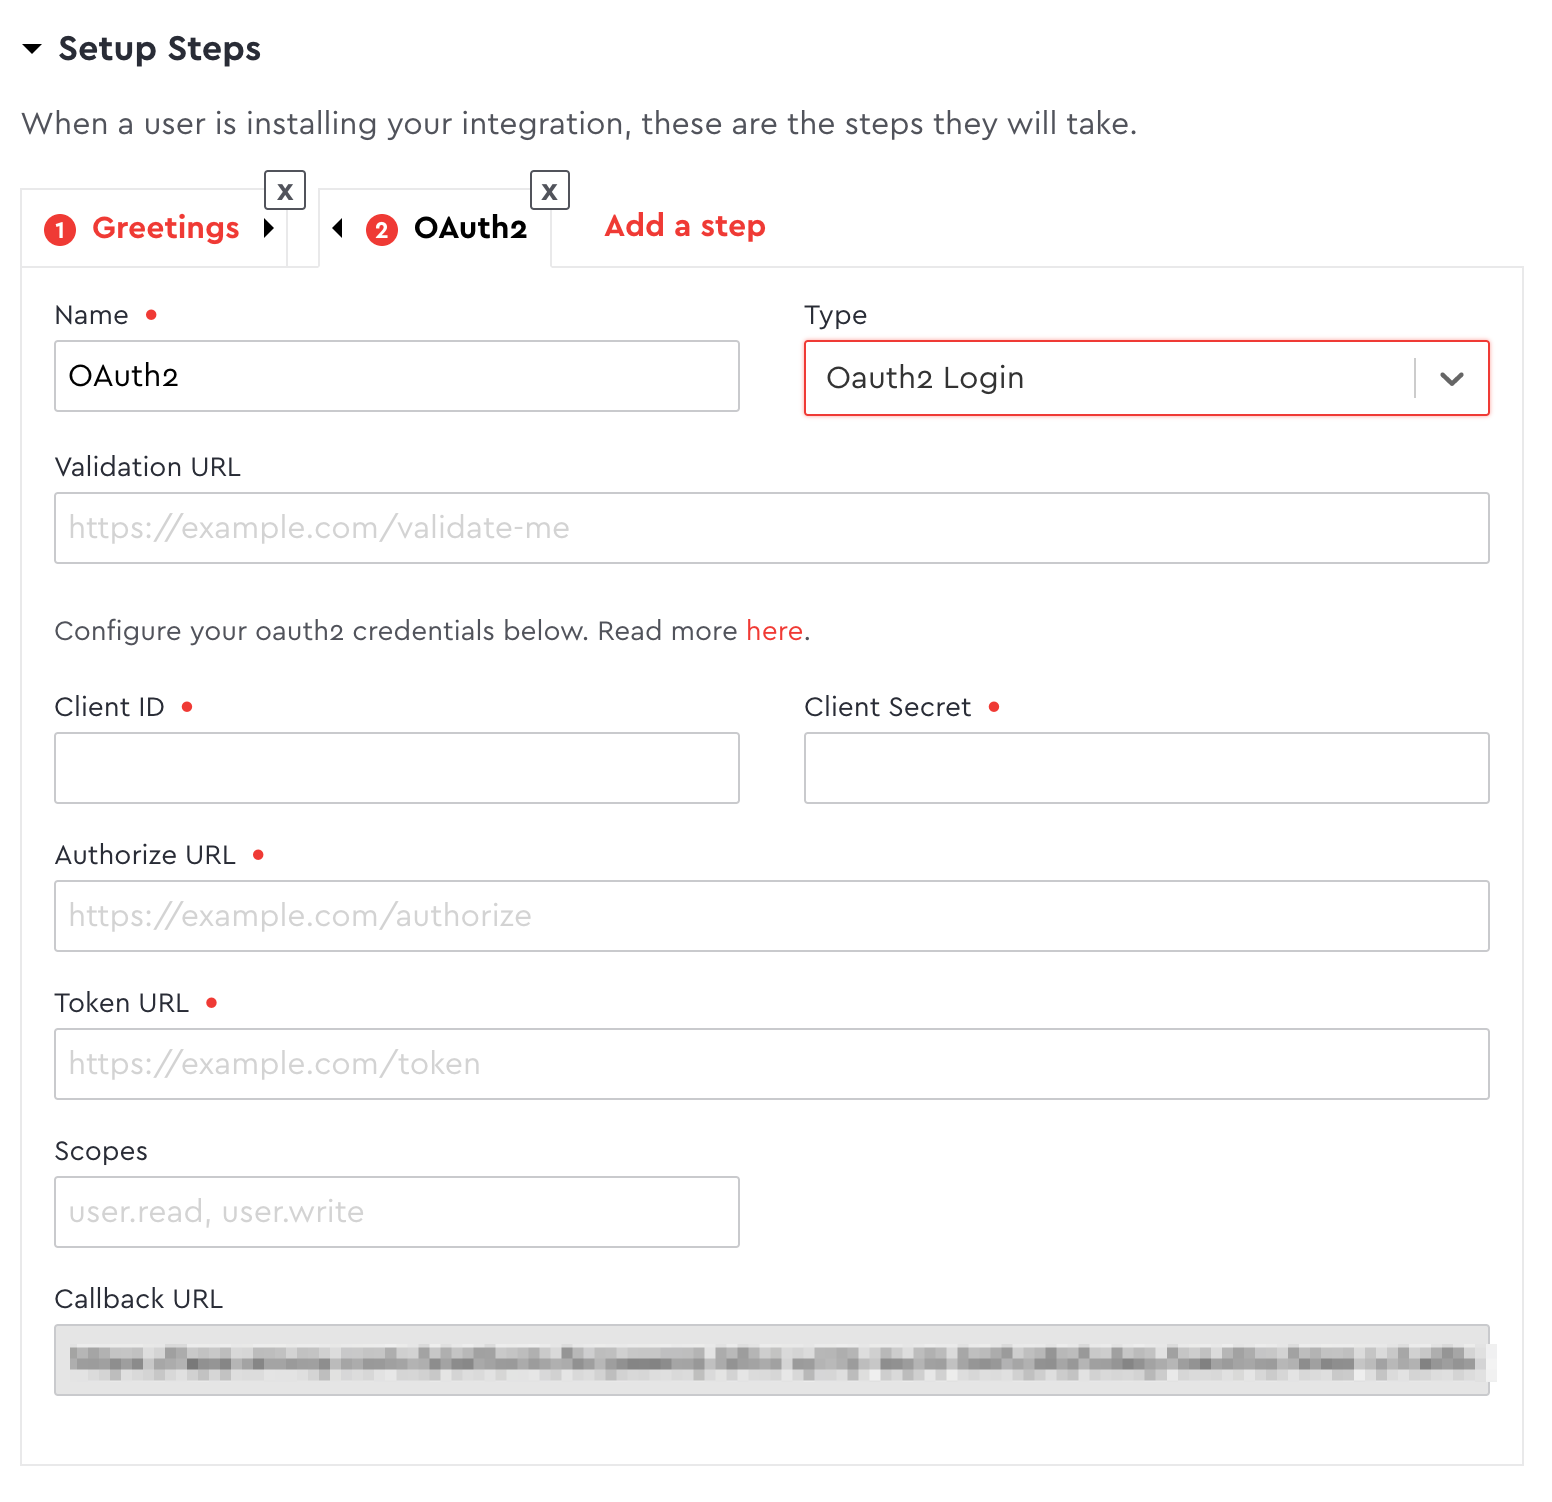
When the installed completes an OAuth2 step, Envoy automatically handles the OAuth2 flow. At the end of the flow, you can save the resulting access token and any other resulting data by supplying a "Validation URL". Note that unlike the form step type, using a validation URL is the only way to save these values.
For this step type, it often makes sense to favor storing data in storage instead of sending any objects back to store in the installation config, as storage is the best place for sensitive data (it is never exposed to the front-end).
Also, be sure to register the "Callback URL" found in the builder as a valid redirect_uri within the external system you're authing against.
Pop-Up Step
This step type should be used when you wish to take full control of some external auth. You can even rebuild an OAuth2 flow using it.
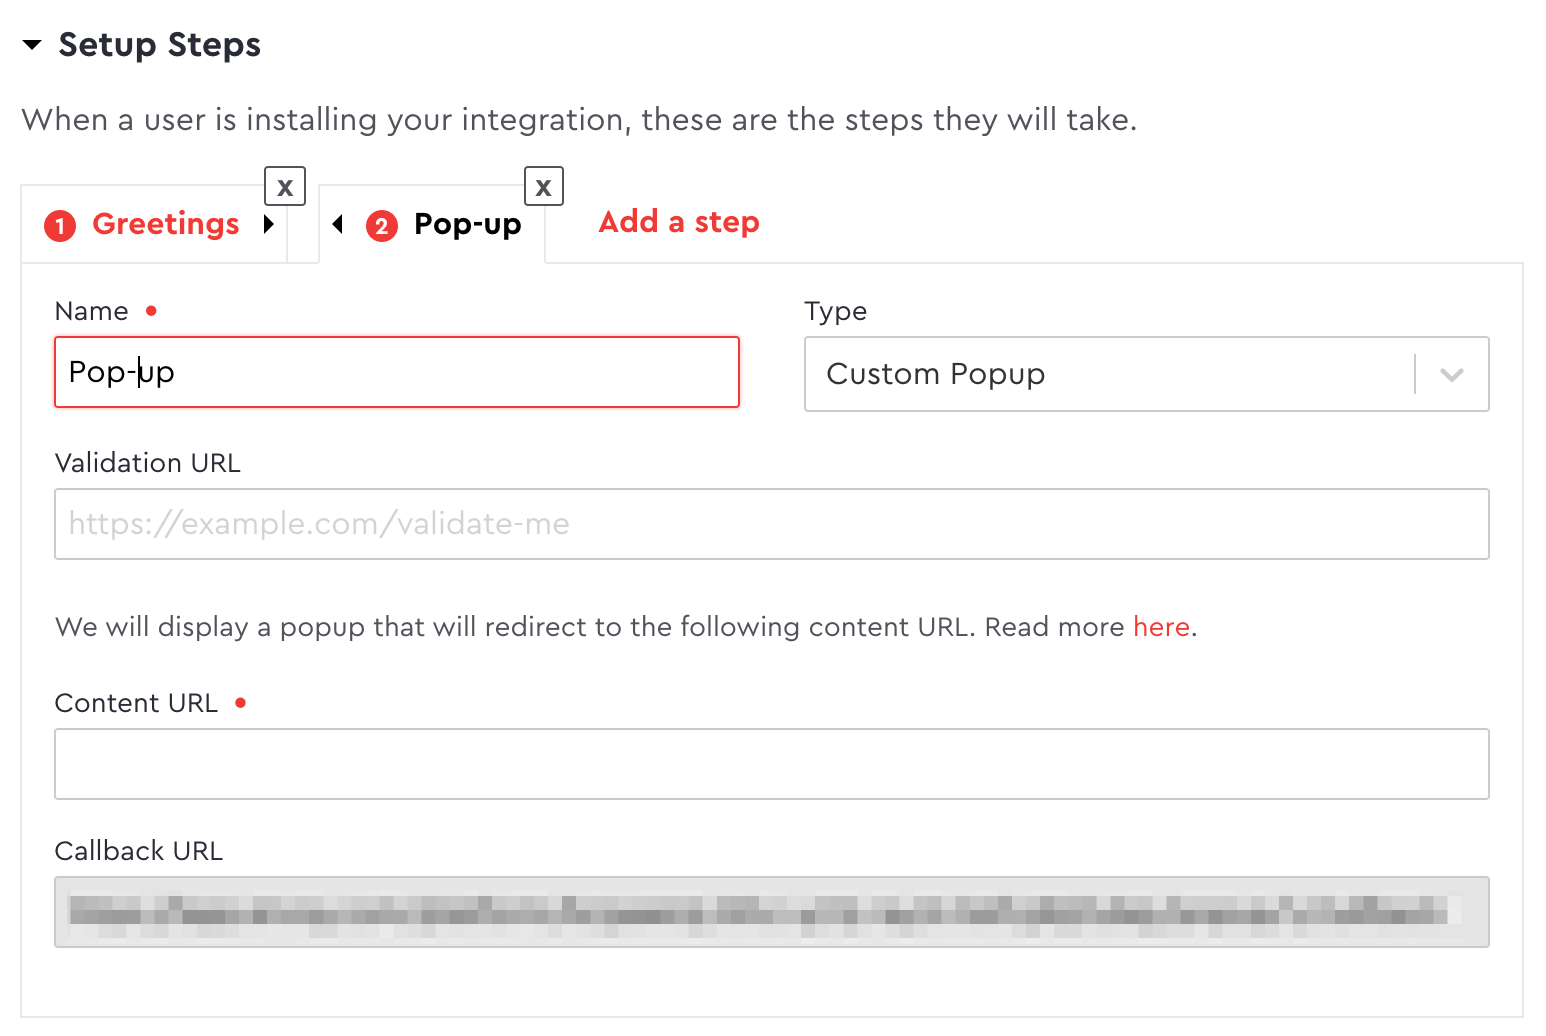
To create a popup, supply a "Content URL". When the installer arrives at this step, we will display a popup redirected to this URL. Additionally, we will append a state query parameter to the URL.
When you've completed your flow, redirect the user back to the "Callback URL" found in the builder, with the same state query parameter appended to that callback URL. This redirect will close the popup and complete the step. If you wish to save any values for this step, pass them as additional query params.
For complex data such as nested objects, or for sensitive data that you wish to save in storage, you can utilize the "Validation URL" like the other step types.
Form Step
When the installer completes a form step, their values are automatically saved to the installation config, using the "Key" you specified as the key to access that value in the request meta's config property.
If you wish to take control of which values are saved (if any), you can supply a "Validation URL", which Envoy will hit as a route.
The response to this request should be an object to be used as the keys and values will be saved in the installation config. To prevent the step from completing, send back a 400 response. If your response is a JSON object that contains a message property, we will use that as the error message to display to the installer.
Here's the list of available field types that a form step can have:
- text - typical text input
- checkbox - typical checkbox
- link - a button that opens a link in either a new tab or a popup
- info - static text
- select - a dropdown whose options are populated by an endpoint in your plugin
- resource select - pre-made dropdowns to select Envoy resources (locations, flows, employees, etc.)
- mapping - maps a list of options to some other data type
Most field types are self-explanatory, so below we will explore the more complex ones.
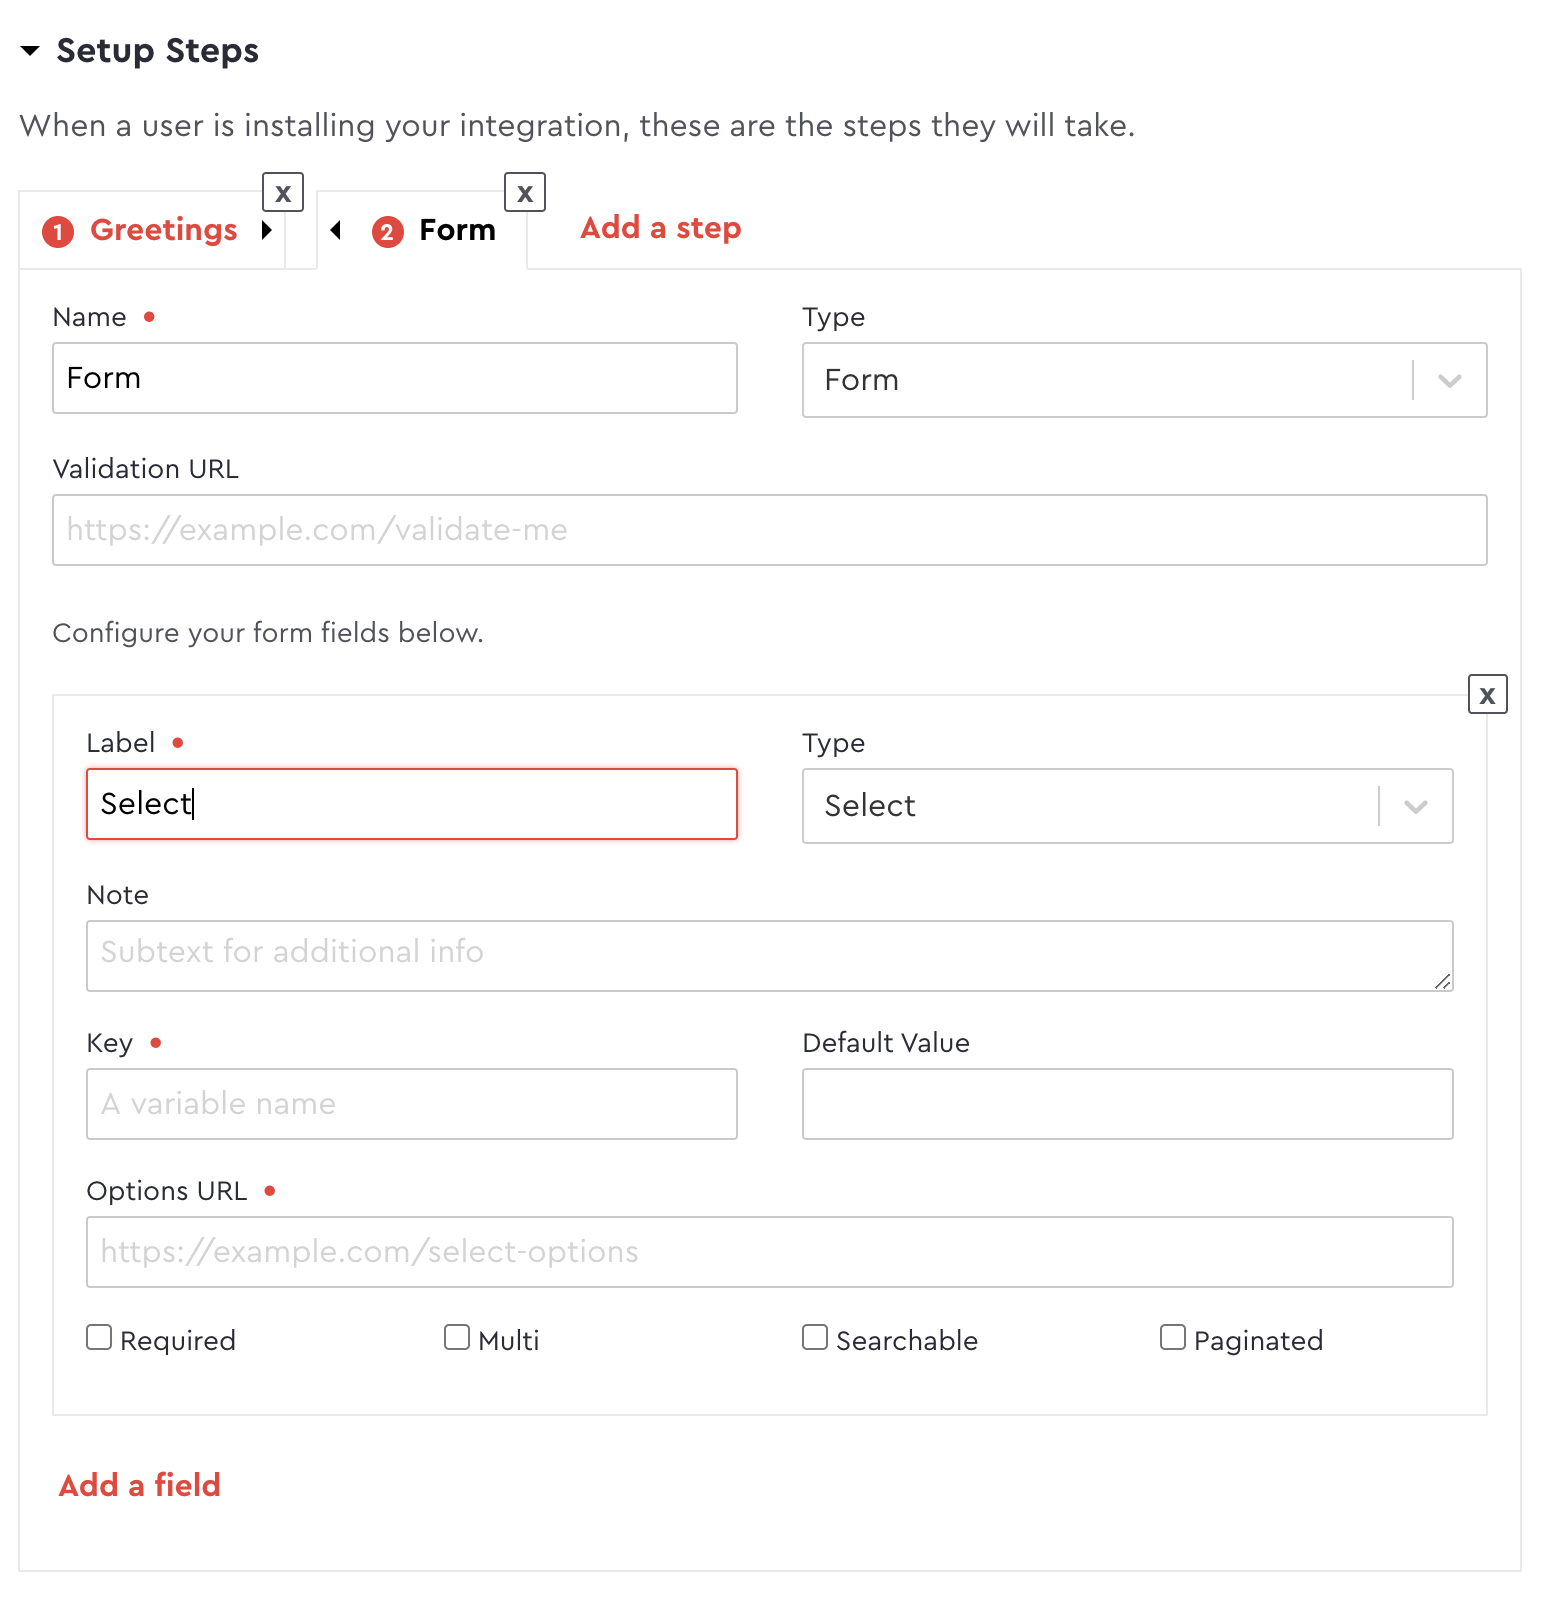
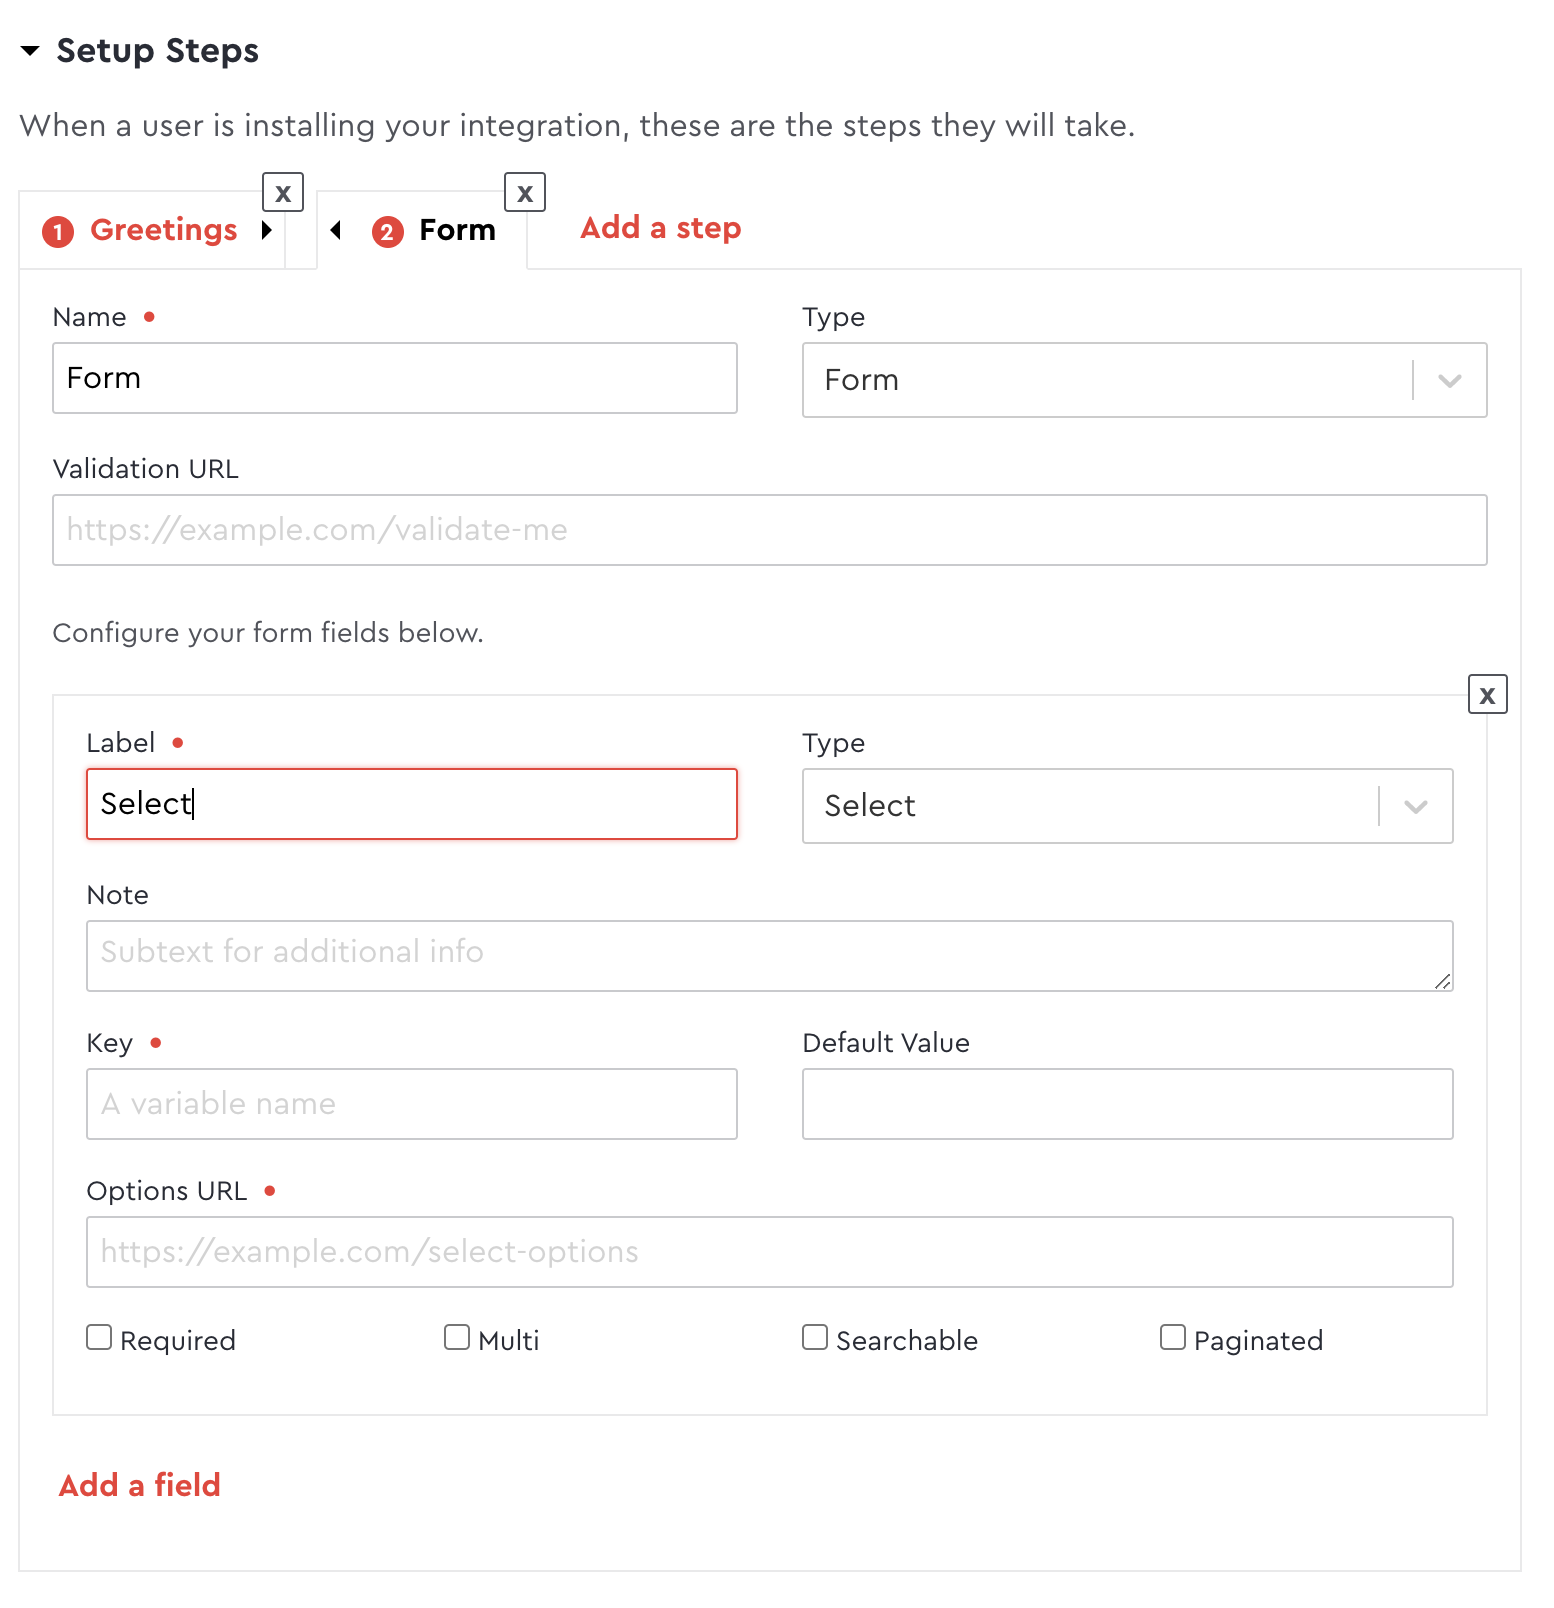
Select Form Type
Select boxes display a list of options. To create a select box, you must supply an "Options URL", which Envoy will hit in order to load the select options. You must respond to this with a JSON array of objects, where each object must have a label and value.
Select boxes have the option to be searchable and paginated. A searchable select will have a search bar present in the dropdown. A paginated select will continuously load more options as you scroll down the dropdown. Selects can be both searchable and paginated at the same time as well.
When a dropdown is searchable, the call to the Options URL will include a search param. When paginated, the call to that URL will include a page param. The plugin is responsible for answering that request with the appropriate array of option objects (objects with a label and value) based on those params.
When pagination is enabled, the Dev Dashboard will ask for an additional URL for "selected values". This is useful for cases where that form field already has a value associated with it from a previous save, but that value is not present in the first page of options. Envoy will make a request to that URL with a value param to load the appropriate option object for that value and insert it as an option.
Advanced Pagination using Cursors
As an alternative to paged pagination, Envoy also supports cursored pagination, where instead of page numbers, pagination is done though tokens. It works as follows:
Envoy's initial call to retrieve the first page of data will contain no params. The plugin should respond with an object instead of an array of options. This object should include a data property with the array of options, and a cursor property. Whatever value is in this cursor property will then be passed back to the plugin when Envoy requests the next page of data, as a cursor param.
Using cursored pagination is useful for wrapping APIs that use cursors, or for displaying consistent dropdowns for actively changing data.
Read more about cursors here.
Form Mapping Type
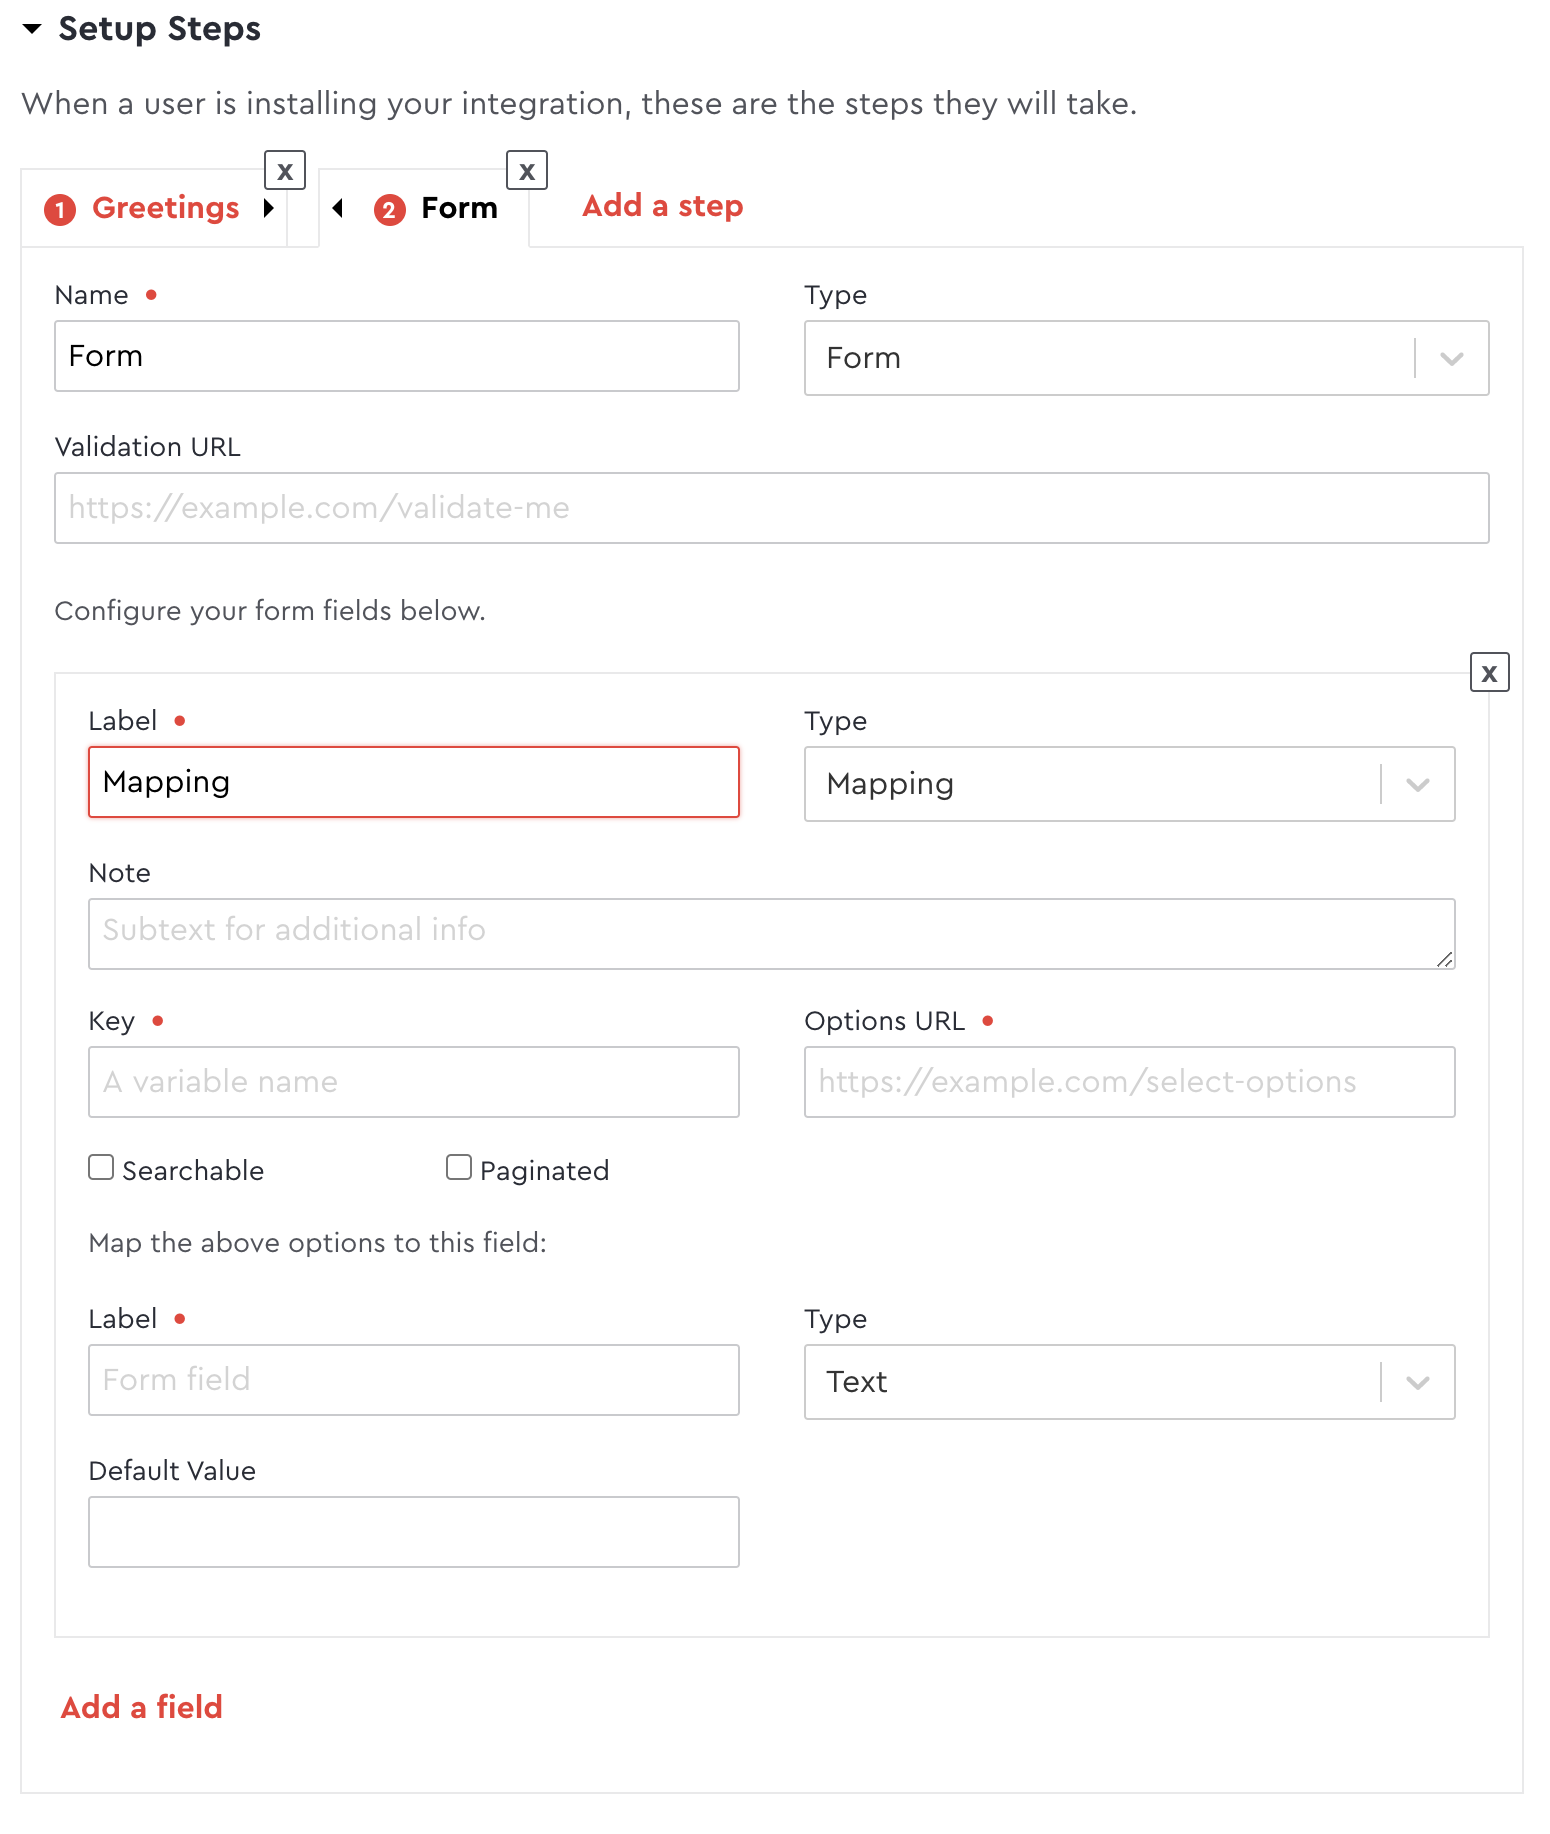
The mapping type is a bit more complex than select, but addresses a very common use case. It generates a mapping of one set of data to another. For example, you can map Envoy visitor types to an external system's user types.
For the most part, the mapping type functions like a select type, where you must present an array of options to render a dropdown. This dropdown will appear on the left side of the screen. You will be asked to select a secondary field type, which will appear on the right side of the screen. The installer will then be able to select an option from the left dropdown to map to a value on the right. The installer can add as many mappings as they like.
API Credentials
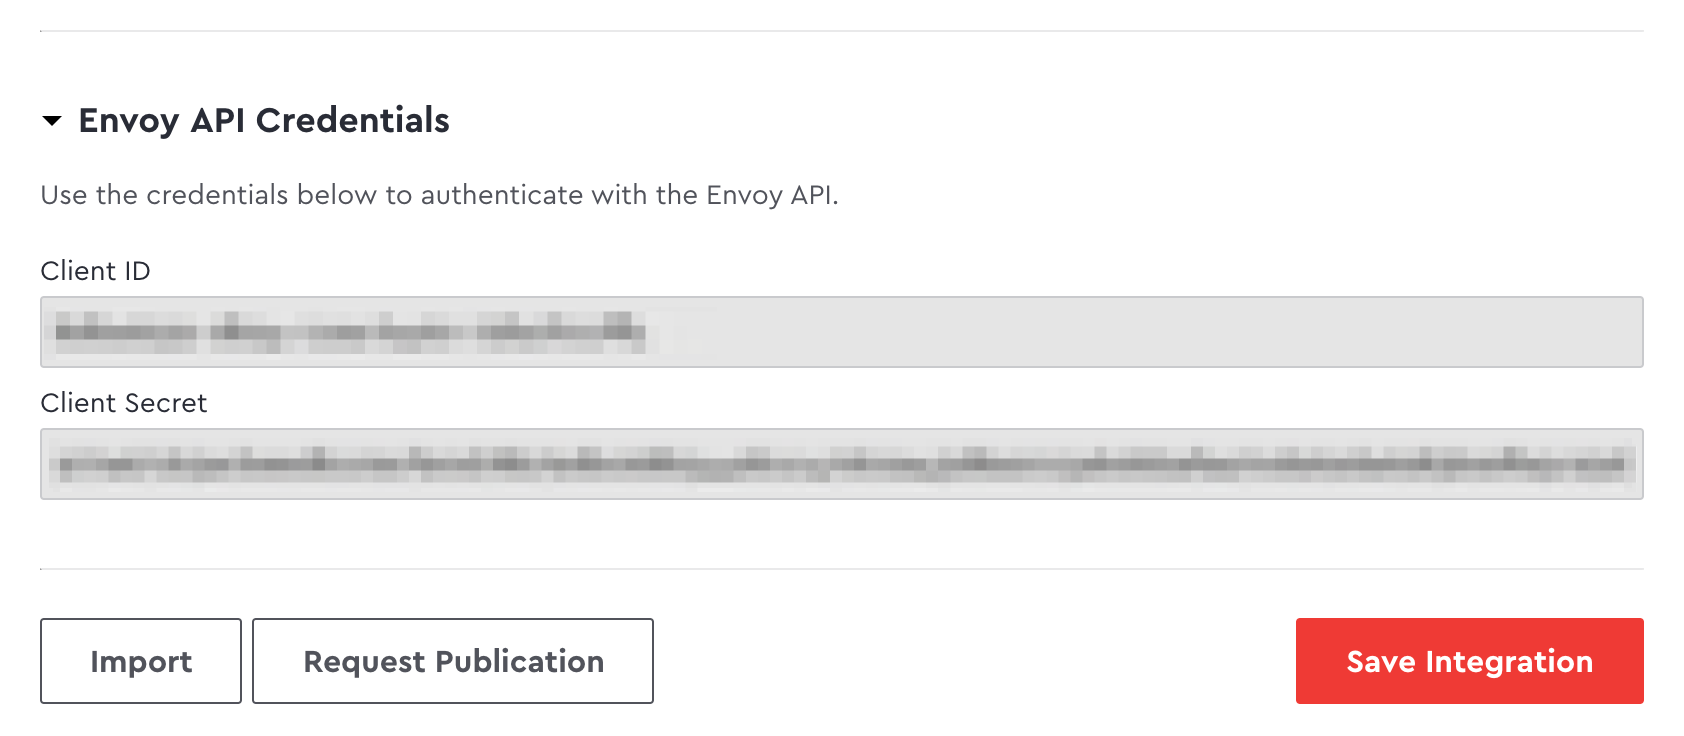
The API credentials are a client ID and client secret assigned to your plugin. They are only generated after the first save of your plugin, and are used by your plugin to generate plugin-scoped access tokens.
These access tokens are special in that they are exclusively used to perform plugin actions like saving items to storage, or updating a job. They are also used to verify the signature that Envoy sends along with each request to your plugin. The Node.js SDK uses these values automatically, once they are present in the ENVOY_CLIENT_ID and ENVOY_CLIENT_SECRET environment variables. Locally, you can create a .env file to define these variables.
Updated 2 months ago
