Getting Started with App Extensions
This feature is in beta. To request access, contact [email protected].
App Extensions save you programming time while also expanding your audience.
This guide will show you how to create and register your first App Extension, step by step.
Why App Extensions? Read our non-technical App Extensions Overview
What we'll be building: a Parking Pass app
Our example company, NiceParking LLC, operates a suite of parking garage scanners. We've got all the hardware and backend code set up, but getting people their daily access codes is a pain - people don't want to download another app. You usually have the front desk person manually approve all visitors.
Enter Envoy.
Through Envoy's App Extensions, we can reliably send parking codes to both employees and visitors, saving your company a bunch of time every day.
The best part is - all we have to do is register an app and build a single API endpoint.
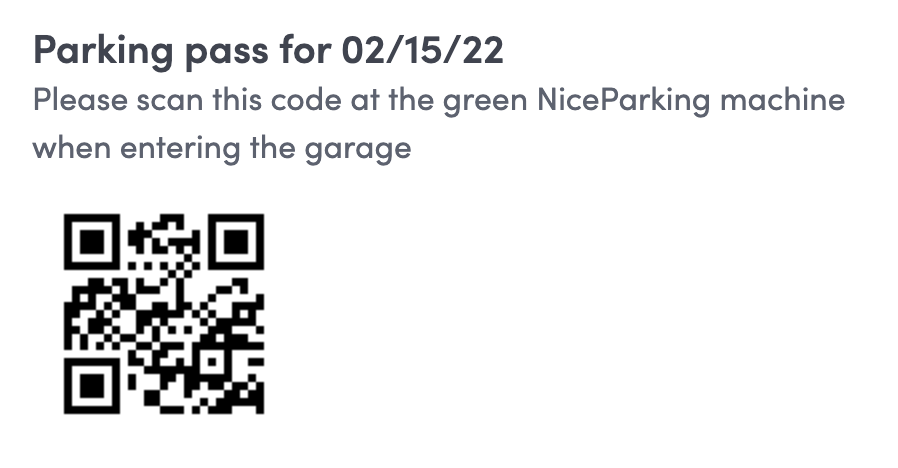
When we're done, they'll get something in their email that looks like this:
Step 1: Register your app
First, we'll want to register our app.
Follow this tutorial - or, if you've already got an app you want to use, you can go to your app's configuration screen in the Dev Dashboard.
Make sure that you've got the "From Envoy's Dashboard" box checked, otherwise you won't be able to access the App Extensions.
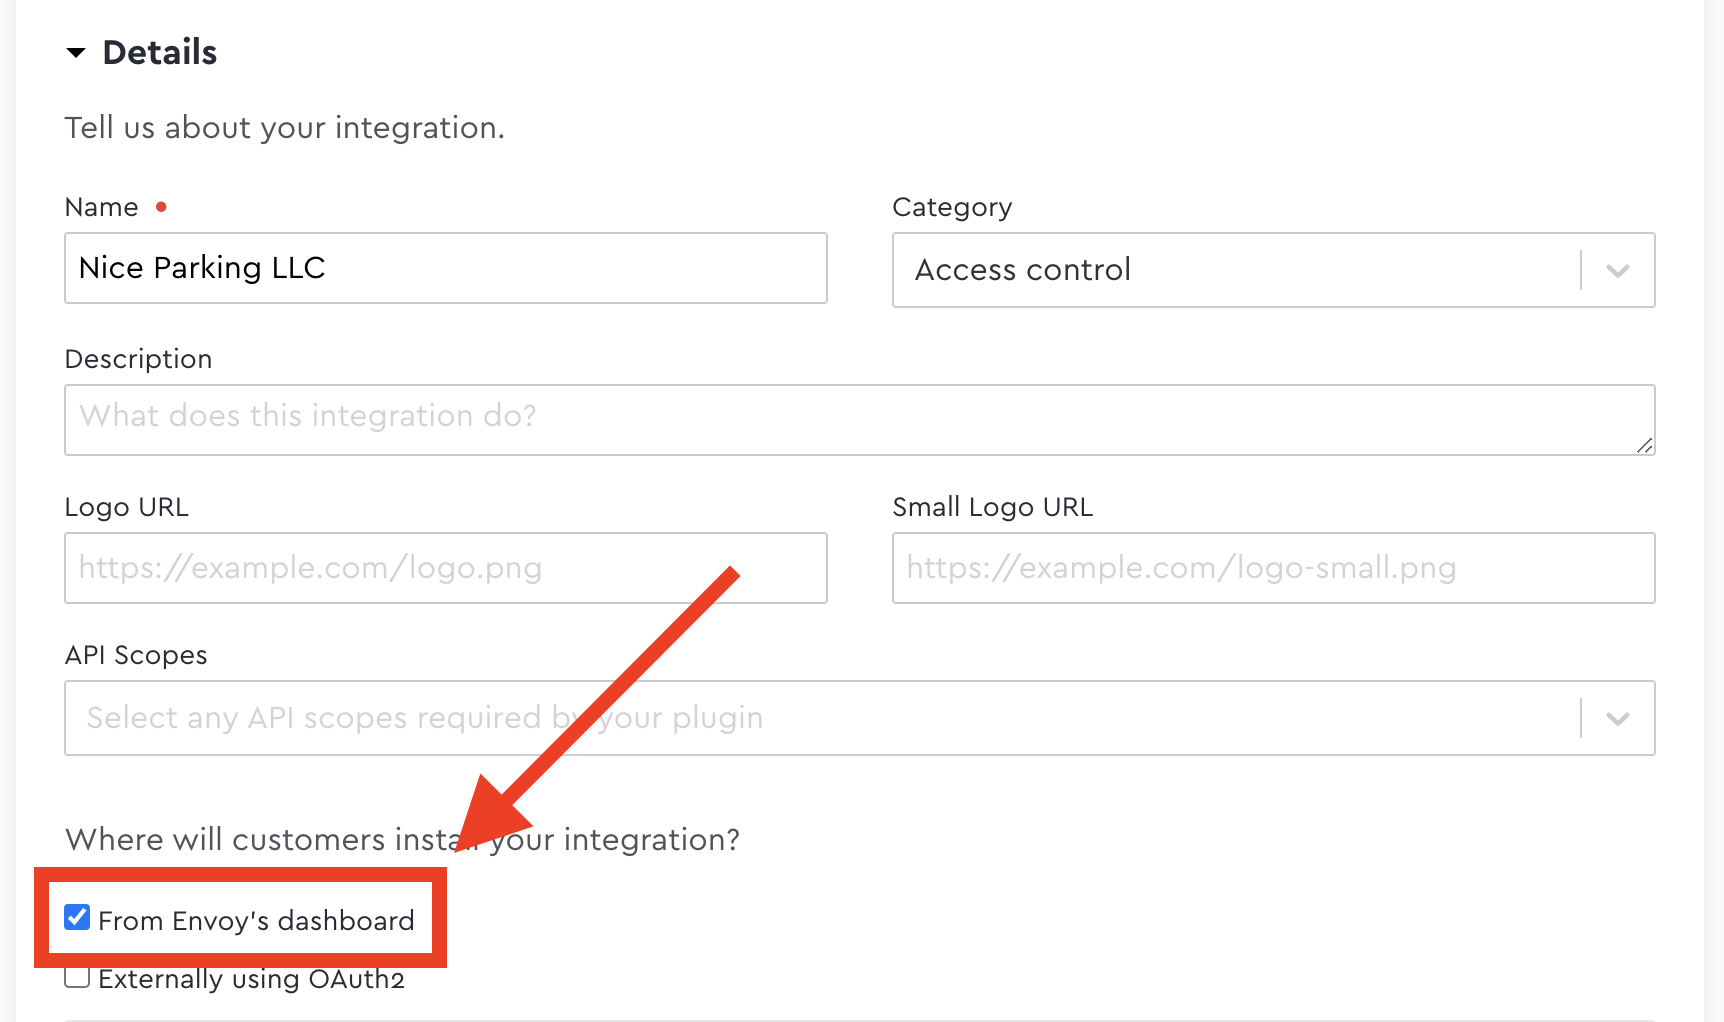
We'll also want to check the "Yes, display on the Integrations page" box.
This will make it so the integration is shared within our own company once we click the "Save Integration" button at the end. To publish it to a wider audience, see the link in step 6.

Step 2: Add an App Extension
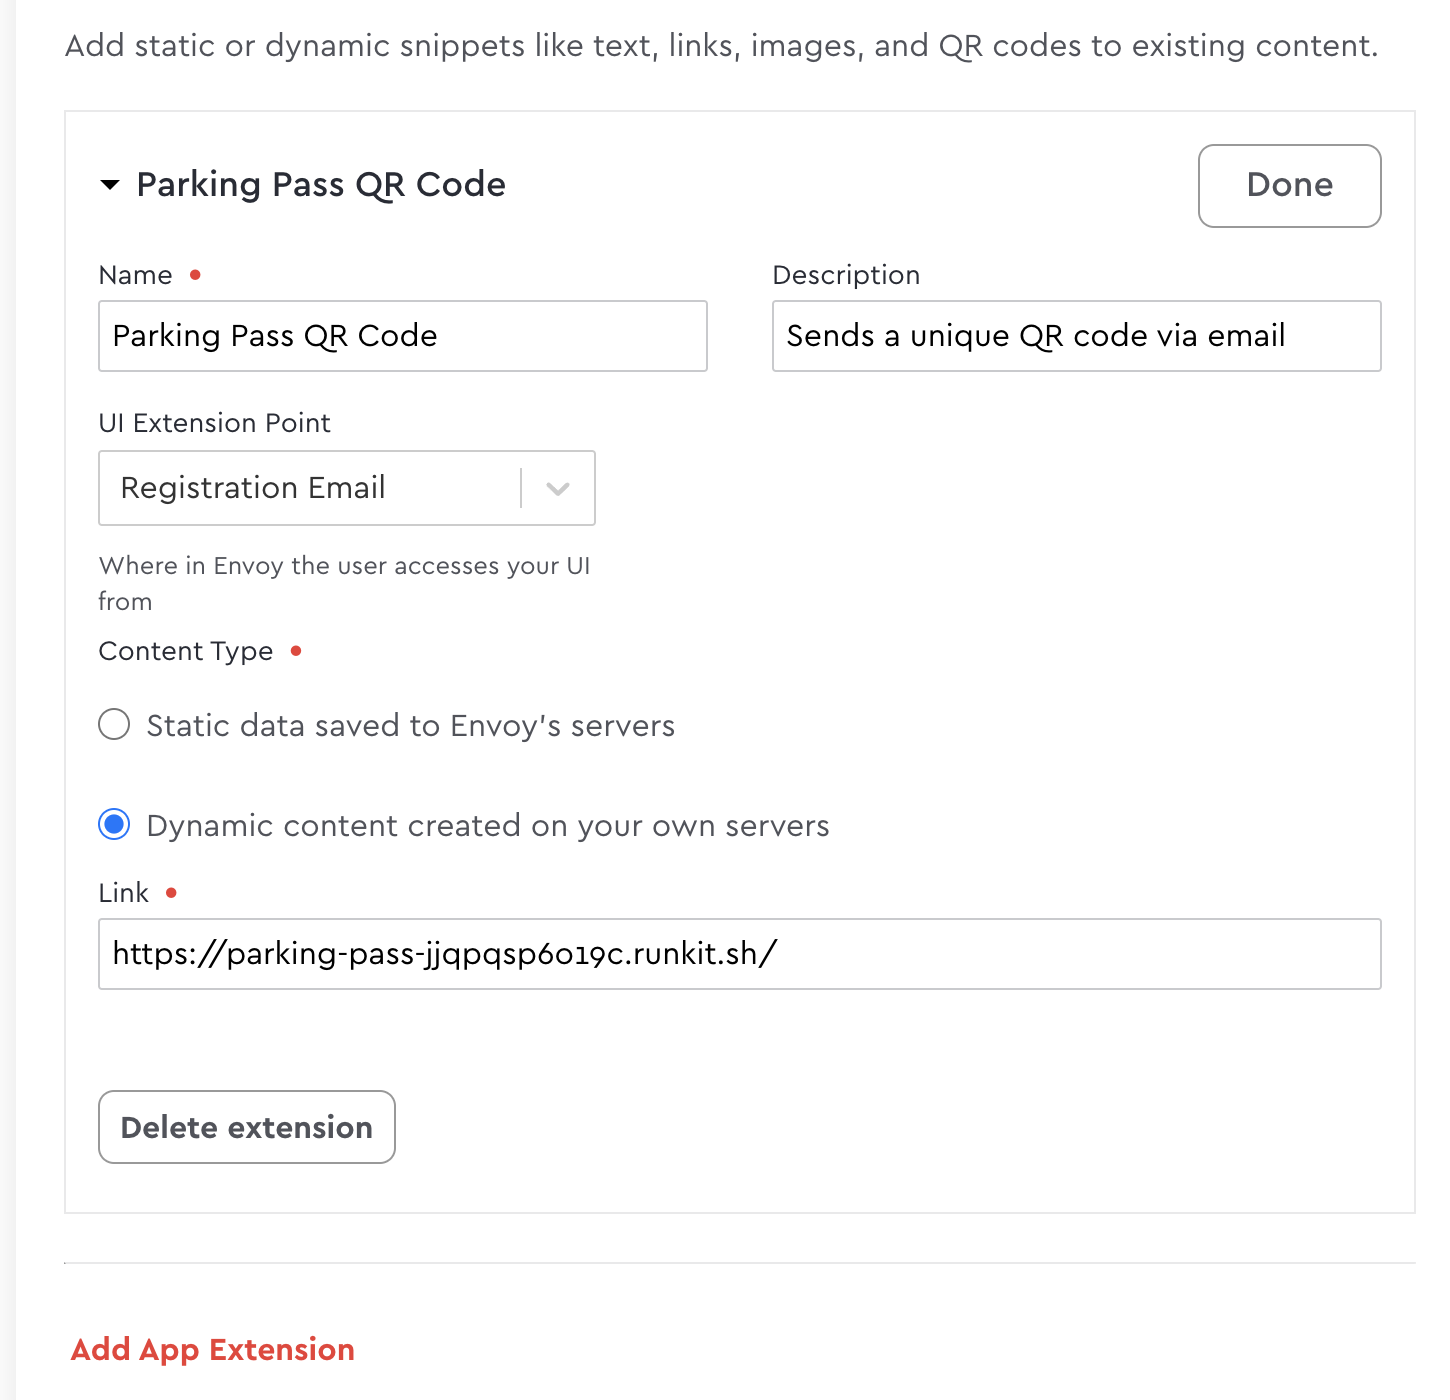
Let's scroll down to the App Extensions section and click the link to add one.
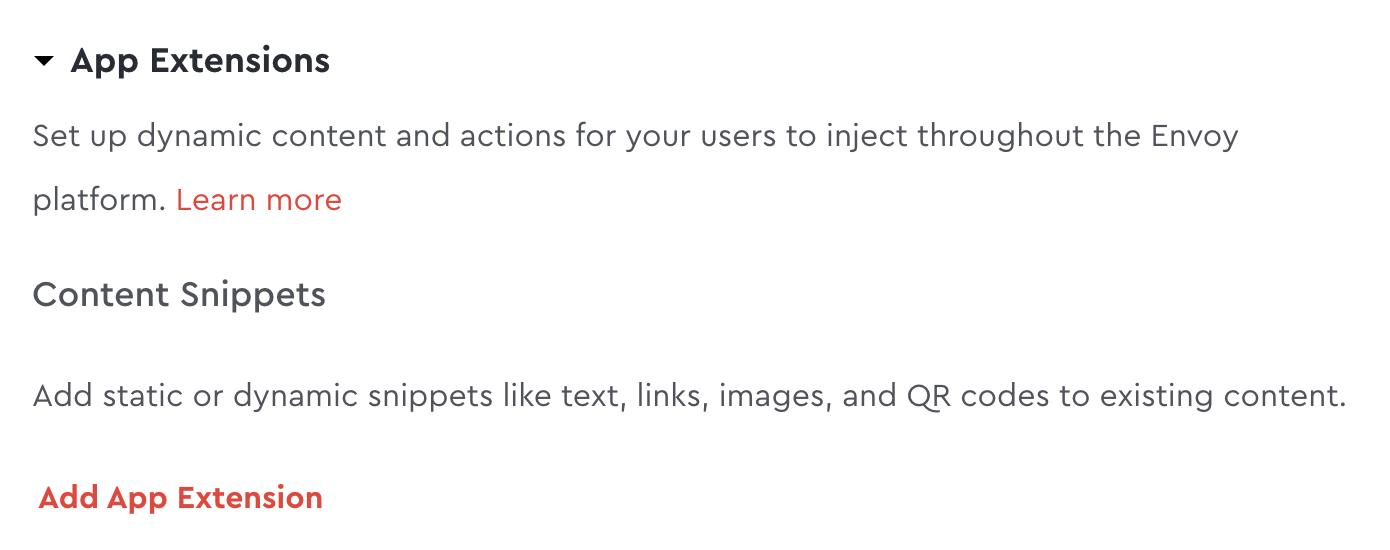
This will open up a new set of fields, which we'll fill out.
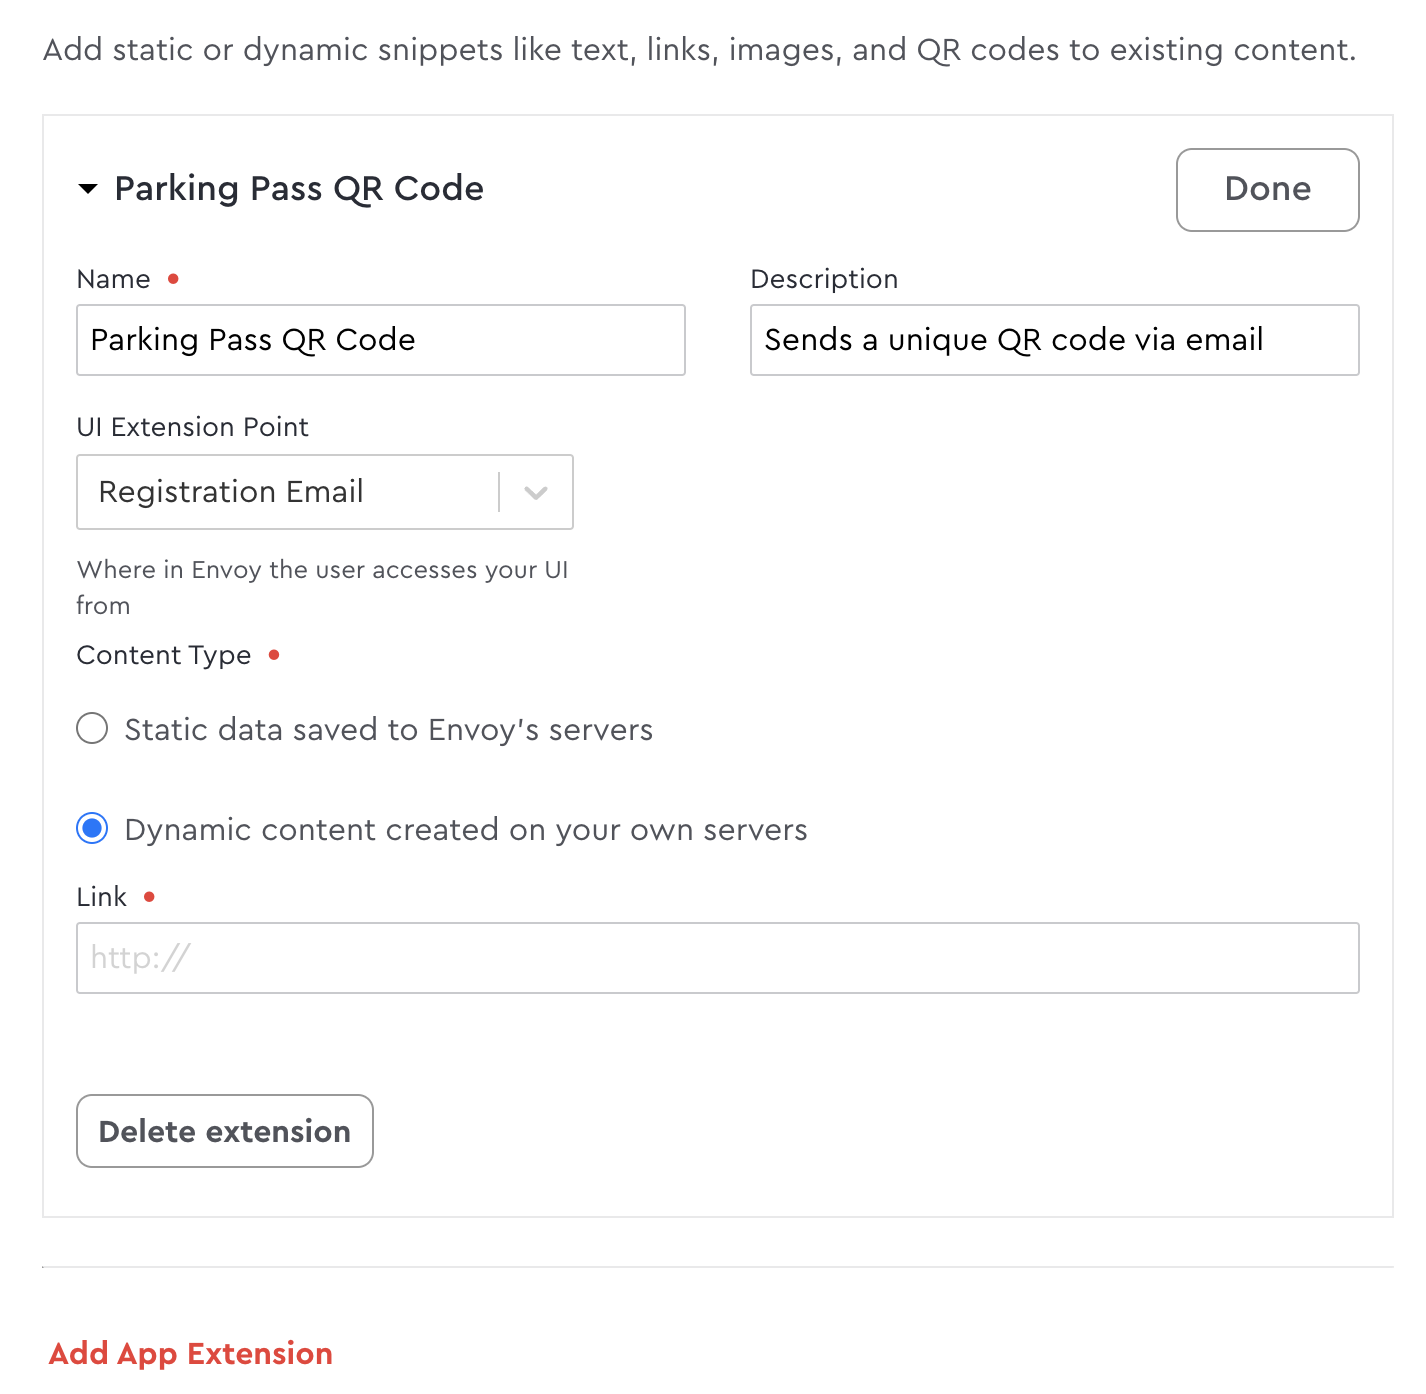
Name should be a short label for the App Extension, while description can provide a little bit more explanation.
UI Extension Point is the place where we'll be putting our custom UI. In this case, we want it to go to the invited visitors, so we'll choose Registration Email.
Then we'll select the Content Type.
Static Content is great for safety warnings, links, or anything that will always show up exactly the same for everyone. In that case, Envoy will store your content and you don't have to make an API endpoint.
Dynamic Content is what we'll want for our app, because we want a new QR code for each scheduled visit.
However, before we fill in the link field, we'll need to do two things:
- Define how our UI will look (step 3)
- Create a server endpoint to send back the correct data (step 4)
Step 3: Component JSON
Component JSON is a schema for easily defining a beautiful UI.
We provide JSON object that fits the schema, and then the Envoy platform turns that into beautiful components that render well on email, web, and (coming soon) mobile.
For example, here's how we'd define a QR Code.
{
  "type": "qr-code",
  "content": "28aok4s22fq9am"
}
That then gets rendered into this:

Test it out. Hold your phone up and scan it. It's encoded correctly.
Go to our storybook page and test out other content fields for the QR Code component.
We've also got components for:
- Headings
- Text
- Buttons
- Images
- Barcodes
You can play around with all of them in our storybook page.
In addition to showing you which options are available, and previewing what you'll see if you select those options, it will also generate a JSON code snippet you can use.

Of course, we don't want to just show the QR code without context - otherwise people won't know what to do with it. We want to define a heading and text that explain how to use the QR Code.
That's where Containers come in.
Containers define how multiple components are arranged. Right now there's just one type - VerticalContainer - but there will be more as we expand where and how App Extensions can be used.
Basically, the type chooses the arrangement pattern, while the content contains the child components. For VerticalContainer, this is an array of components that are displayed in order, one on top of the next.
{
  "type": "vertical-container",
  "content": [
    {
      "type": "heading",
      "size": "large",
      "content": "Parking Pass for 02/15/22"
    },
    {
      "type": "text",
      "content": "Please scan this code at the green NiceParking machine when entering the garage"
    },
    {
      "type": "qr-code",
      "content": "28aok4s22fq9am"
    }
  ]
}
You can take this code and input it into storybook to see how it looks. Click the "RAW" button on the upper right of the Control field and it will let you edit the content array.
Note - be careful of trailing commas. The parser does not like them.

And now we have the Component JSON structure that we need!
The next step is putting in the correct information per invitation, then sending it back to the Envoy platform.
Step 4: Create your endpoint
Now we need to make an app to get the unique content code and serve it from an API endpoint.
You can use any backend server you want. For this example, I'll be using a simple Node application served by RunKit.
const {format} = require("date-fns");

// This endpoint will return valid ComponentJSON, for using in E2E testing and example applications

exports.endpoint = function(request, response) {
  const todaysDate = format(new Date(), 'MM/dd/yy');
  const randomCode = Math.round(Math.random() * 1000000)

  response.setHeader('Content-Type', 'application/json');
  response.end(JSON.stringify({
    type: 'vertical-container',
    content: [
      { type: 'heading', content: `Parking Pass for ${todaysDate}` },
      { type: 'text', content: 'Please scan this code at the green NiceParking machine when entering the garage' },
      { type: 'qr-code', content: randomCode}
    ]
  }));
}
The code can be found at this runkit page, where you can clone and edit it if you want.
It's then served at this endpoint: https://parking-pass-jjqpqsp6o19c.runkit.sh/.
Runkit is great for prototyping and testing, but can't guarantee suitability for production
The important thing to note is that we're doing some calculations on the server (in production this would involve talking to a database and returning a QR code value that represents a specific visit ID), then returning the Component JSON structure we created in the last step.
Now it's time to put our endpoint URL into the Dev Dashboard form and thus complete our App Extension.
Step 5: Create a Setup Step
Setup Steps are how host admins customize your app.
Right now, it's required that you include a setup step, or the app will not install properly. We have an open ticket to fix this issue.
Full tutorial on configuring setup steps, although you can do just a bare-bones setup step and get the installation to work.
Step 6: Publish
Now it's time to share our work with the world.
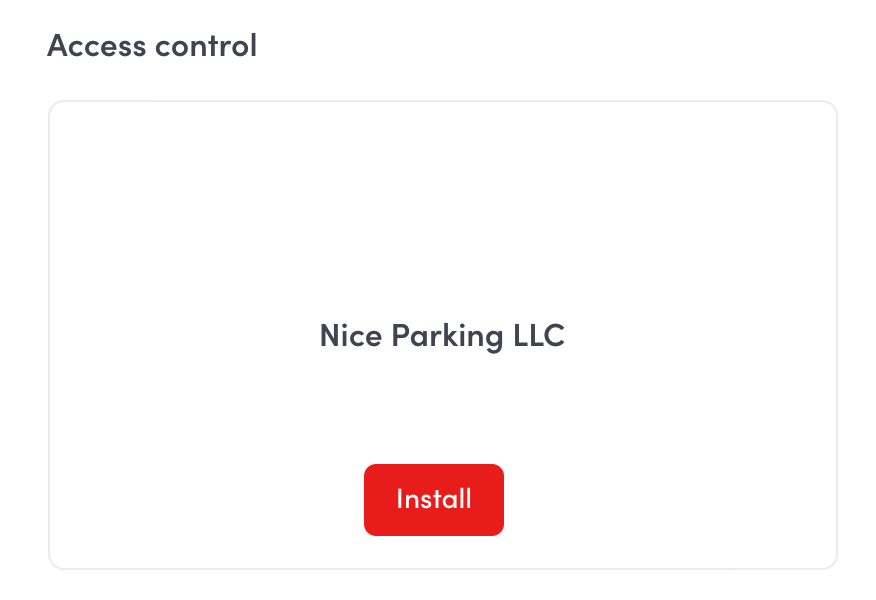
Click "Save Integration".
If you checked the "Yes, display on the integration page" box in step 1, then this will share it with your company.
In order to display on everyone's integration page, follow the steps in this tutorial here to submit your app to be included in the Envoy App Store. There will be a short approval process, to ensure the continued high quality of everything in the App Store.
Conclusion
Congratulations! Your app is now in the Envoy App Store and ready to install!
At this point, you should have a good idea of how to register an App Extension within your app, and the basic steps to sending back the right data.
If you have any questions, or if there are any other places in the Envoy platform where you'd like to see App Extensions, let us know!
Updated about 1 year ago