Approve or deny visitors using feature hooks
Approve or deny visitor entry in real-time using synchronous webhooks. When a visitor signs in we will provide you the context of that sign-in and the identity of the visitor so that your app can determine whether to allow or deny entry.
Here are a few ways to leverage synchronous webhooks:
- Only allow visitors to enter the building after an authenticated biometric scan
- Verify a visitor's identity using facial recognition during the sign-in flow
- Deny entry by pinging a real-time database of known bad actors, criminal records, or government watchlist
- Only allow entry to visitors that have uploaded proof of vaccination from a passport app
Using synchronous webhooks, your app will run during the sign-in flow. Envoy will hold the sign-in flow from completing until a response from your service is received. Your app will need to return a response (approve or manual review) which will let Envoy know how to complete the visitor sign-in flow.
If your app does not return a response after 30 seconds Envoy will timeout the request and process the sign-in as normal.
Configure the sync webhooks
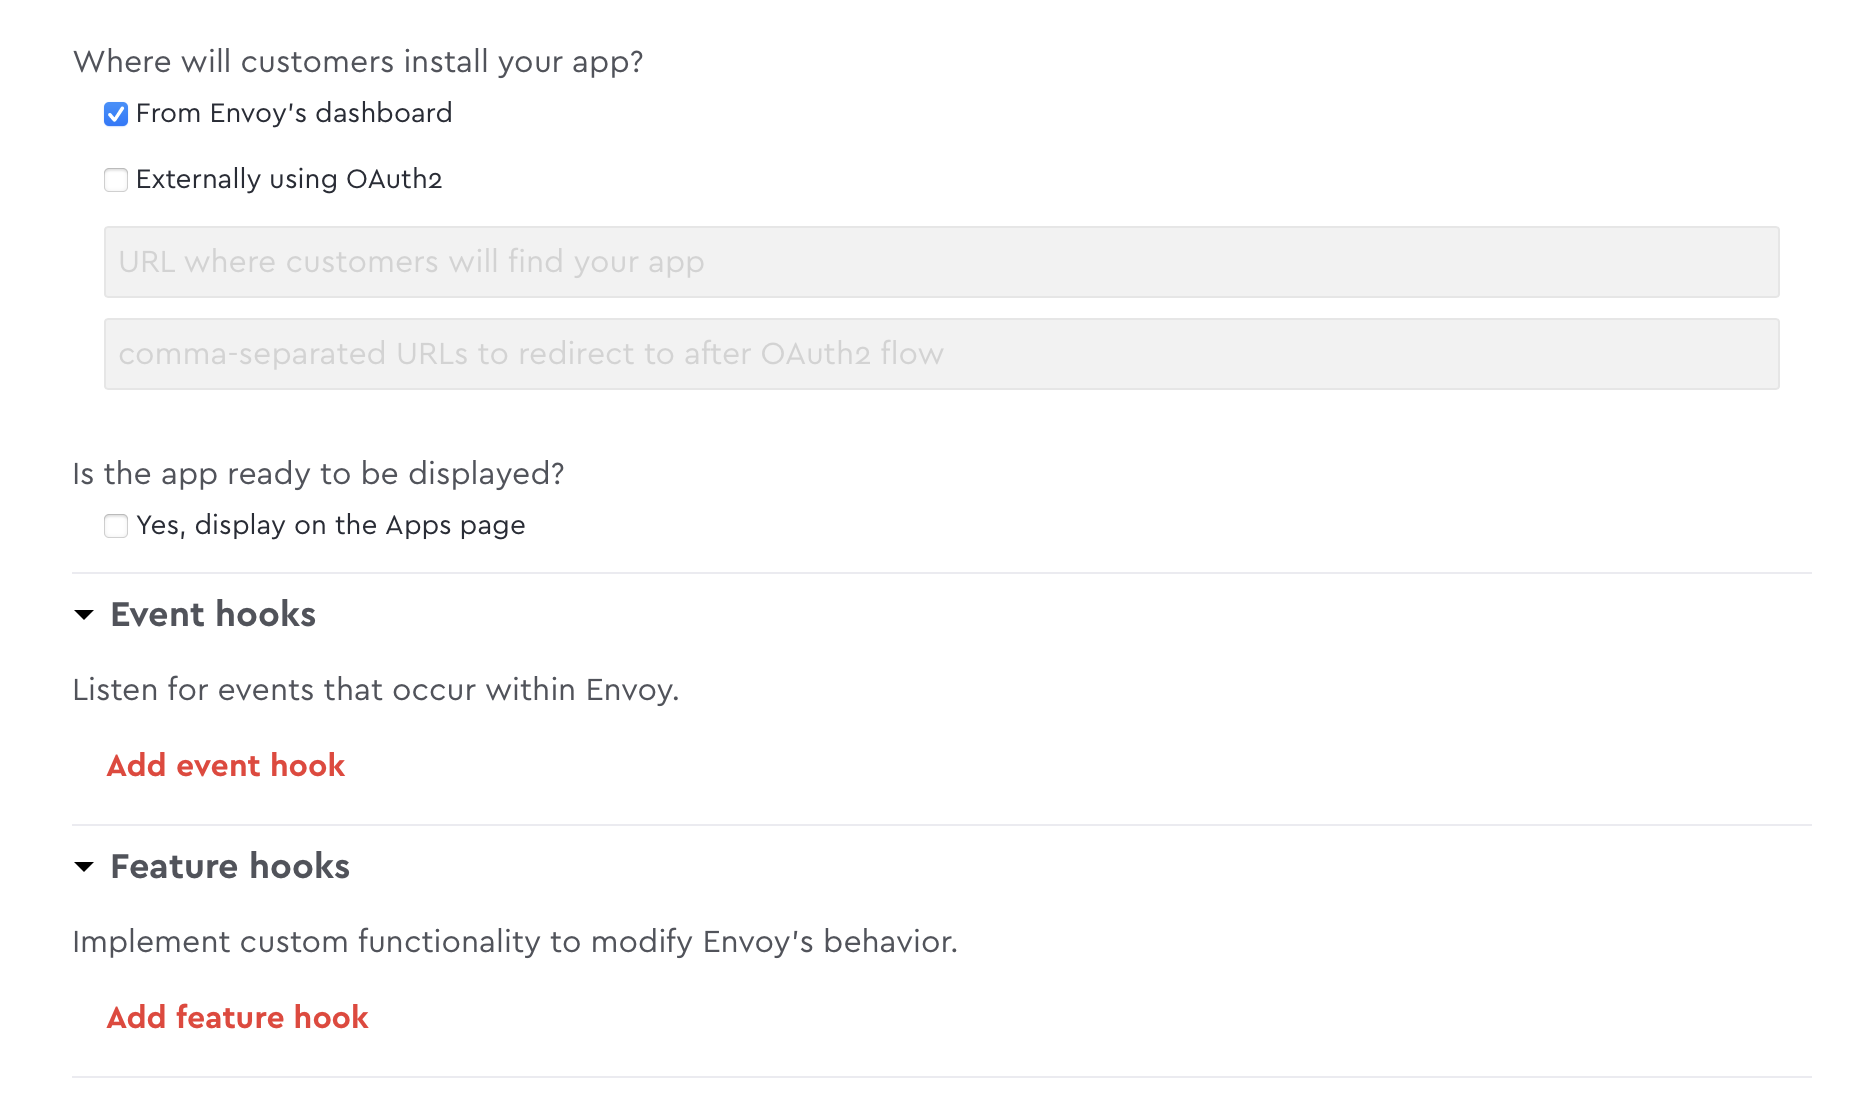
- Add feature hooks by creating a new app in Envoy's Dev Dashboard
- Check the box "From Envoy's dashboard" to display, feature hooks in the Dev Dashboard
-
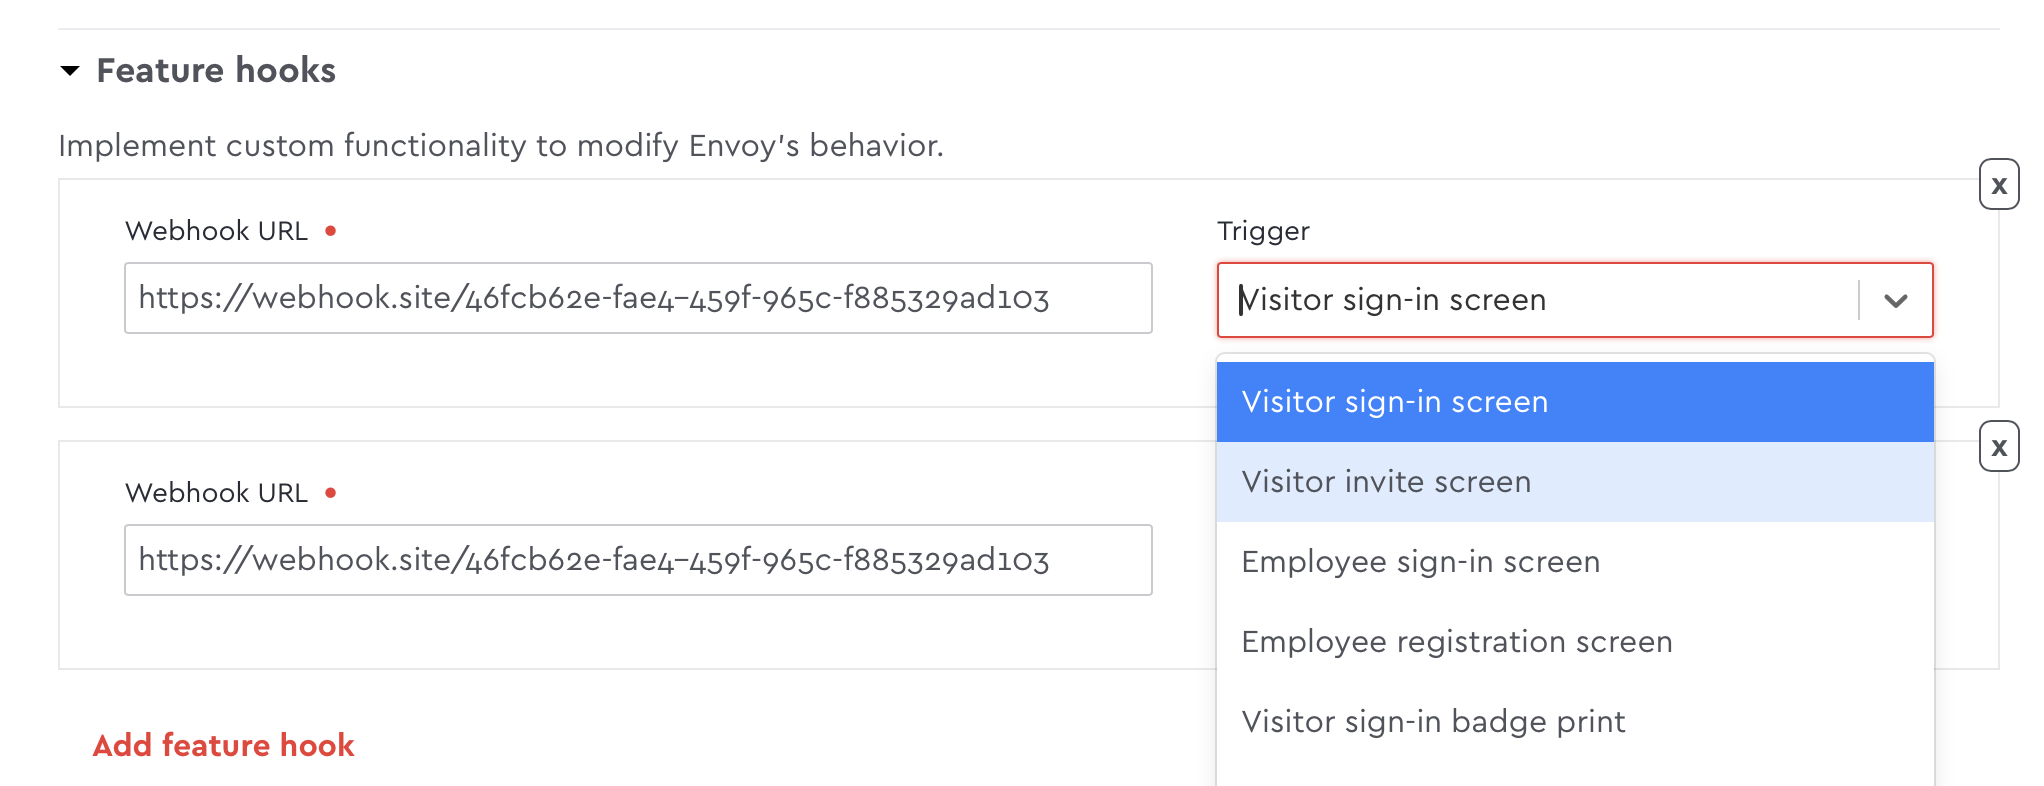
- Under Feature hooks, provide the endpoint URL that you want the callback to be POSTed to
- Under Trigger, choose the type of screening you want for each validation URL
Respond to the webhook request
When a visitor signs in we will send a webhook to your endpoint that will contain the details of the signee (name, email, etc) and their sign-in responses. You can view entry_sign_in event webhook payload to view the webhook request..
Automatically approving a visitor
To approve the user return an HTTP 200. If you’re using the nodeSDK you can use this method:
res.send({})If you return a 200, the user will be automatically approved and allowed entry.

Requiring a user to be manually approved
To require the user to be approved manually return HTTP 412. If you’re using the nodeSDK you can use the following method:
res.sendFailed('REPLACE_WITH_YOUR_APP_NAME: this user is not allowed in.')You can provide an optional message in the `res.SendFailed method which will be displayed to the admin in the visitor log.

If you return a 412, the admin will have to manually approve or deny the user. The visitor will see a message on the iPad letting them know what someone will be with them shortly.

Notifications are not automatically sent to an admin if a visitor must be manually reviewed. We recommend creating your own notification to alert the administrator to take action.
Updated about 1 month ago